"Dirty Deeds
done DIRT CHEAP! Pt 1: Drop leg pouches using PLCE"
project
by HeadWreck
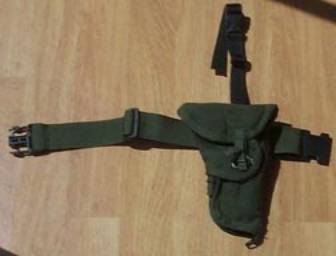
Both of these modifications are simple to use and can be removed. I shall begin with the holster.
|
|
|
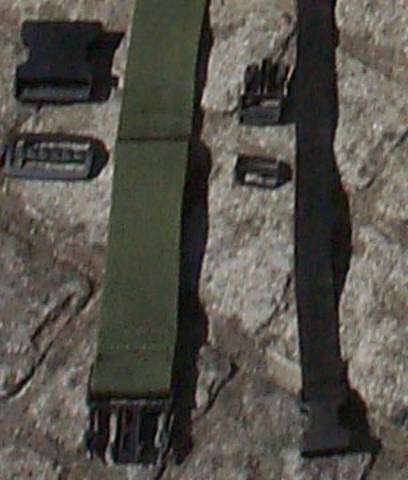
Components: 1 x 2 belt (available anywhere cheaply, includes 1x Side release buckle (2), 1 x slide adjustment buckle (2)) 1 x 20mm strap (available anywhere cheaply) 1x 20mm side release buckle 1 x 20mm slide adjustment buckle 1x PLCE holster (I think, I am known to be wrong) Walther P99 with large grip is optional. |
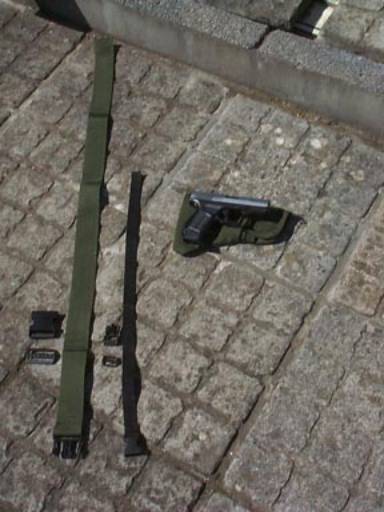
Right now we know where we stand on ingredients we may begin.
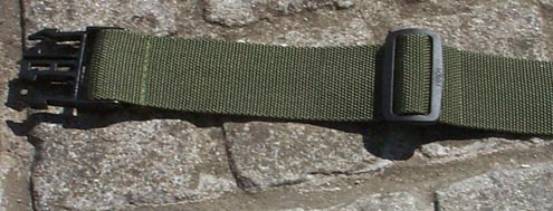
Step 1.
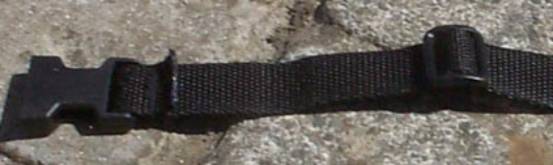
First of, loop around the non-adjustable side of the buckle and stitch it tight. Make sure its a good stitch though and thread the slide adjuster once as shown here.
Step2.
|
|
|

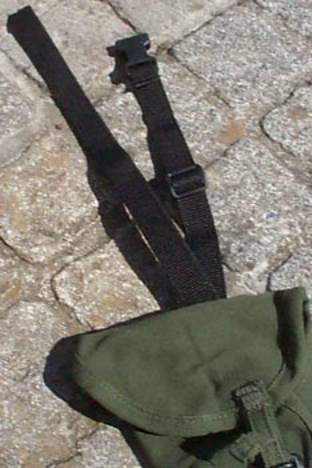
On the holster (and on the ammo pouches) there are loops built in to take the 20mm straps that PLCE equipment attaches to. This is how we are going to do this. The next stage will to thread the 20mm strap through the rear of the loop (side that will be closest to you), as it is shown above.
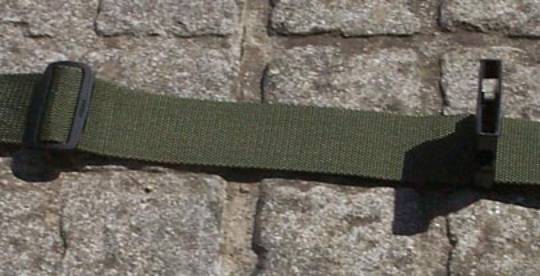
Step3.
|
|
|
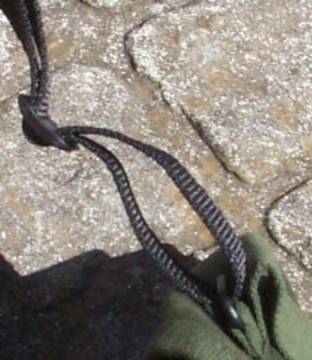
Now we thread it back through the slide buckle on the top. Finishing off with the other end of the buckle. As shown here.
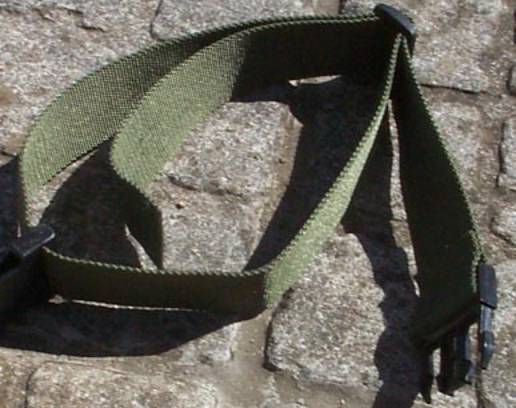
Step 4.
|
|
|
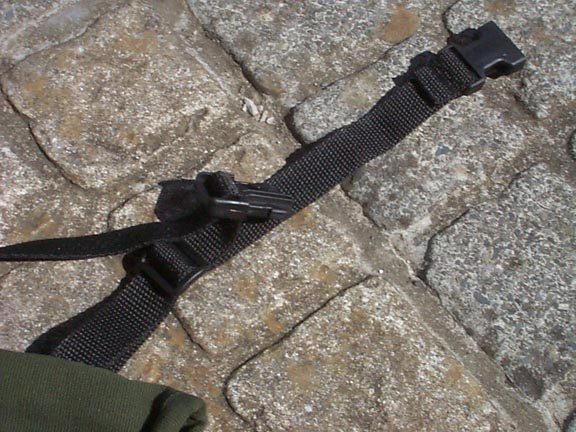
Right, now on to the leg straps. Like step 1 this is done as so. U may notice here I have just sewn the adjustable end in, my answer to that is, it dont really matter. This only has to loop round one thing. And then just slide on the buckle
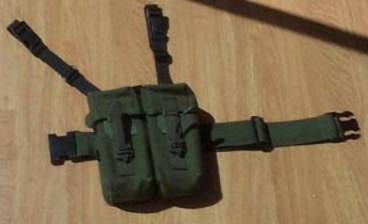
 Ammo
Pouches Just
a refresher to save u people going back to the top, here is the picture
again, as u can see to make the ammo pouch, is exactly the same, except
u make two of those black straps, one slightly longer than the other.
My only other advice is to use the pouch that belongs to the opposite
side when making this, which means if u like your ammo on the right, get
the left ammo pouch, then the angled strap will be at the front.
Ammo
Pouches Just
a refresher to save u people going back to the top, here is the picture
again, as u can see to make the ammo pouch, is exactly the same, except
u make two of those black straps, one slightly longer than the other.
My only other advice is to use the pouch that belongs to the opposite
side when making this, which means if u like your ammo on the right, get
the left ammo pouch, then the angled strap will be at the front.
Thats all or now.
Newbie Head wreck signing out.
article
and photos by HeadWreck