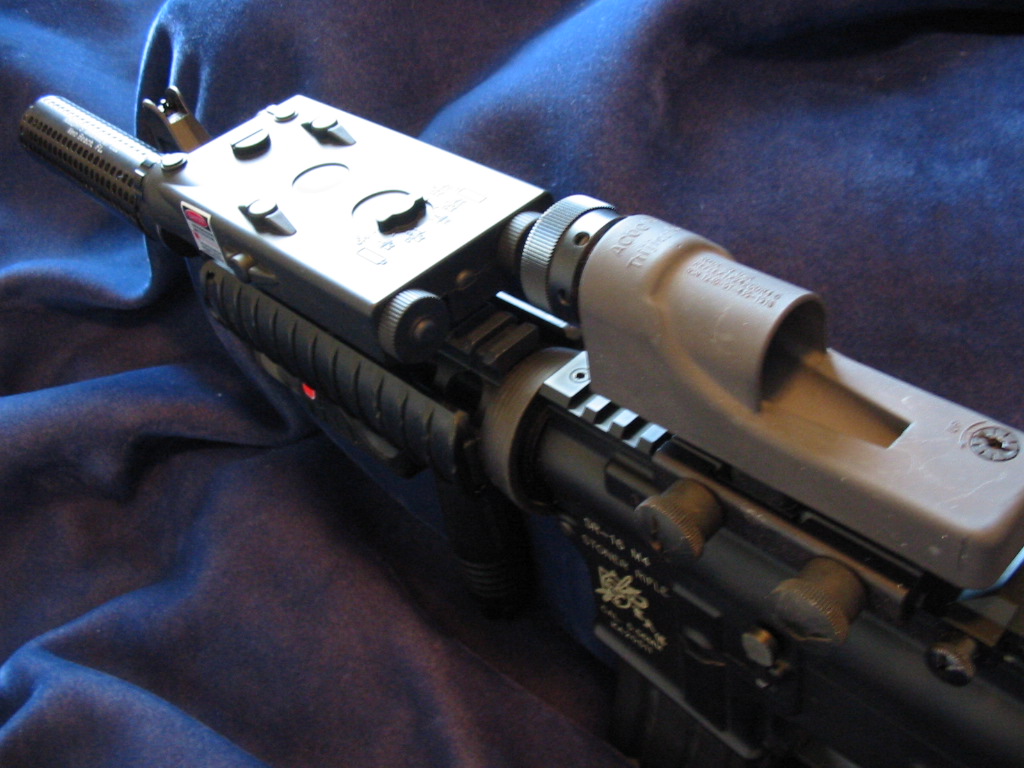
The MC-74B laser module (a separate Weaver/Picatinny rail adaptor unit is available and is termed the MC-74A, with the full unit being the MC74) is a typically commercial powered unit, less than 5mW, with an output wavelength between 630 to 670 nm. Nothing special, but not too shabby either, matching the output of other commercial mid-range units such as those by BeamShot and AimShot. From its internal construction, however, I would suspect that this item would not stand up to the rigors of real-steel firearms recoil; my BeamShot and AimShot are both much more "solid" internally, with visibly better connections. I don't even want to venture into the depth of my Insight Technologies M6, however..... With the MC-74B, it utilizes 3 small watch batteries stacked in-line through the length of its rear main body. To access the battery compartment, first you have to un-screw the larger exterior shell of the casing -- this is why in the WGCS pictures on this unit you will see it as being fairly uniform in diameter throughout, but once you unscrew this outer shell, the actual concentric battery compartment (accessed by yet again unscrewing a rear endplate) is quite slim and small, which is what you see on the "open shelf" picture of the ICS AN/PEQ-2 replica unit on the WGCS retail page. The battery for the MC-74B unit are already in the unit itself -- just gently shake the unit to dislodge the batteries, which are packed with layers of paper cut-out so as to prevent shipping energy losses from accidental activation. This is also the laser unit that fits directly into the latest-generation ICS MP5 AEGs' front sight post -- and again, to do so requires removal of the larger exterior body, which is in turn only used for the MC-74A rail adaptor unit. Adjustments are typical for mid-grade lasersights. There are two main adjustment screws and one lock screw. They occupy the 12, 4, and 8-o'clock positions. For those of us who've adjusted and sighted-in such units in the past, you'll know that it is just easier to treat all three as adjustment screws; since the motions are non-linear and can also cause displacement during adjustment/sight-in. With that in-mind, sighting-in was easily achieved, and is no more difficult than any other device of its type. But, of course, before you sight-in the unit, you'll have to pop it into the AN/PEQ-2 replica unit! =)
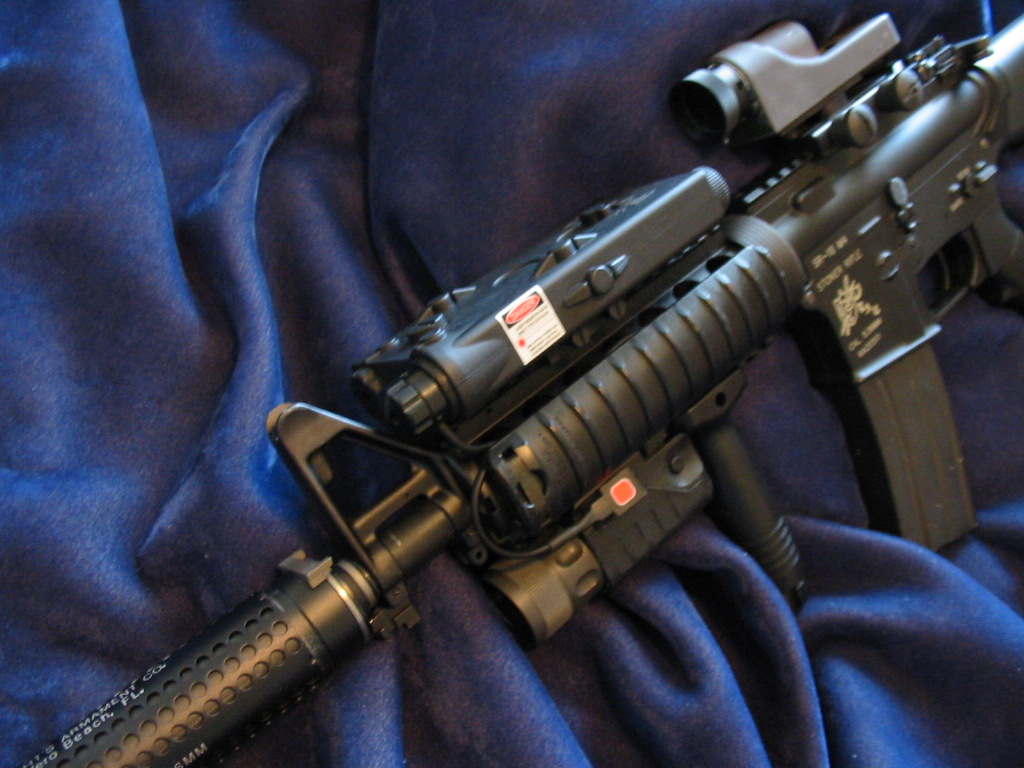
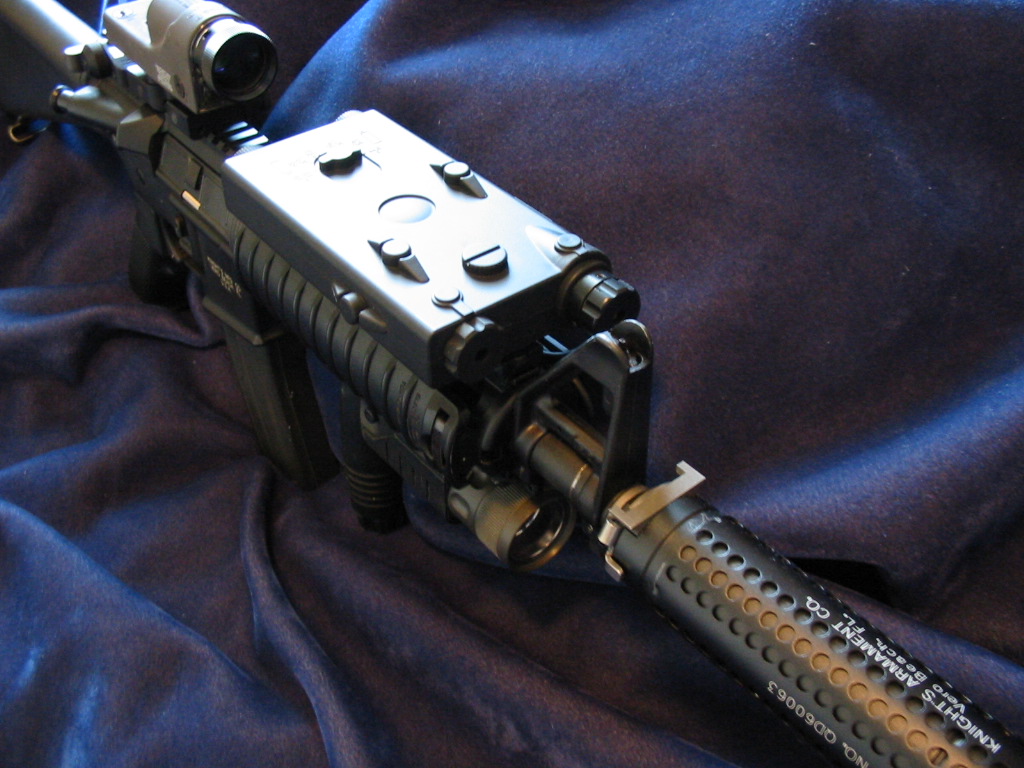
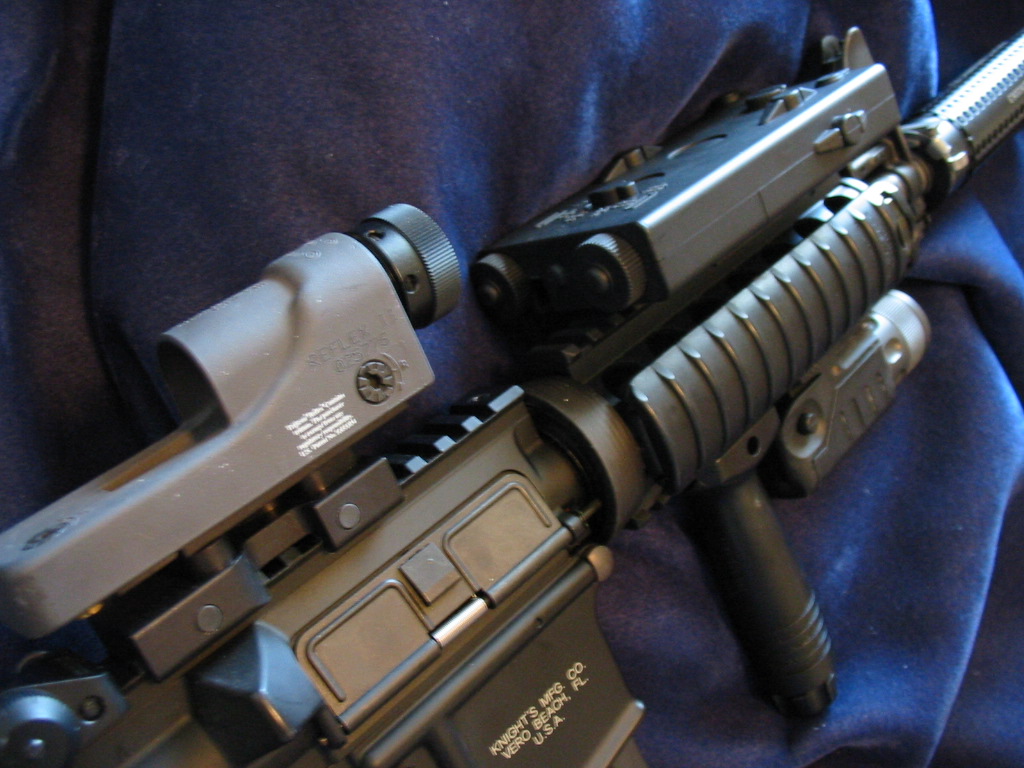
The ICS unit rides atop a set of nice hard metal attachment points; two screws with knurled finger-adjustable heads as well as single-slot screw cut-out easily allows you to latch this piece onto any RIS/RAS Picatinny or Weaver rail. IMHO, it is not likely that you'd be able to snap off this unit unless you really abused it.... The fit was perfect on the RIS rail of my TM SR-16, BTW. [ Note here is that my friend, "The_Edge," who is a well-known airsoft nutcase and absolute gear/accessory junkie, had a distinctly different impression of the solidity/rigidity/durability of the mounting apparatus than I did -- being that I typically am more accommodating in my reviews and that The_Edge typically takes a very hard line at assessments, you, the reader, can try to reach your own judgement of the severity of this potential problem by simply reading both of our reviews -- The_Edge's assessment is located here] While the unit is decidedly wider than the TM stock AN/PEQ-4 unit, it is aobut the same height with the mounting rail included (the ICS unit is thiner than the TM unit in terms of just its actual body) -- this means that for those of you who like to co-sight your front sight post, you will not encounter any problems. My Trijicon Reflex II on its NSN RX-14 mount was easily able to clear the top of the ICS mock AN/PEQ-2 unit, and co-sight the front sight post as with what the real-deal operators used in the later half of the 1990's. Before you try to open the unit, you should think about carefully removing the laser devices warning located on the side where you can install the aftermarket laser unit -- if you bought your unit new, it should peel off rather easily and should also easily be able to be saved for replacement once you've finished your modification. Opening the casing simply requires you to go around and "twist off" all of the locking lugs at each corner. Basically, these are the replica battery and laser module hard points/caps on each end. The two at the rear and the non-laser housing on the front carries you through a quarter-turn counter-clockwise -- and then you just literally pull them off. The laser unit's more "flush" cover is a bit harder to handle, but it's the same idea. After you've removed the locking lugs, you can easily pull apart the clamshell. Be careful at the forward edge by the laser unit's storage compartment. There's actually a hexagonal insert lug which works to further stabalize the assembly. As you pull the casing apart, this lug should fall free.
Now, for the battery part, I'm going to have to let someone else write about this later -- I do not use such small batter packs in my replicas; well, actually, I do, but they're all specially configured/shaped and are "no go" for this case (and no, this unit will *_NOT_* fit the "large" Sub-C cells). For the laser, once you've removed the locking lug up front, you should examine the collar of the MC-74B laser unit -- you'll actually find that in front of the small rubber o-ring on its body, there exists the very same locking lug on your laser. Twist the hexagonal lug through its length of threading on the laser unit until it comes off. Now, place this lug into one half of the laser module, where its original lug was displaced. Once you've done this, you can easily insert and then screw-in the laser sight unit. Work the unit and its locking lugs until you get the 12, 4, and 8-o'clock positioning of the set screws (this is something that ICS suggests that you do -- they even provide a small hash-mark on the 12-o'clock section of the laser lens cover so that you can even more easily align the product by sight). Make sure that you also, of course, tightly lock the body of the sight to the mock module's cut-out for it. Once everything is in-place and you've replaced the locking lugs and made sure that the unit is tight on your RIS/RAS rail, you're ready to sight-in. =) The pressure-remote cord is about 12 inches long, and should give you ample working room for whatever configuration you wish to maintain. I easily doubled-up my extra wiring length and stashed it behind the left-side RIS panel on my SR-16. The pressure pad was easily mounted to my SureFire T100 unit's side panel with the enclosed Velcro set. =)
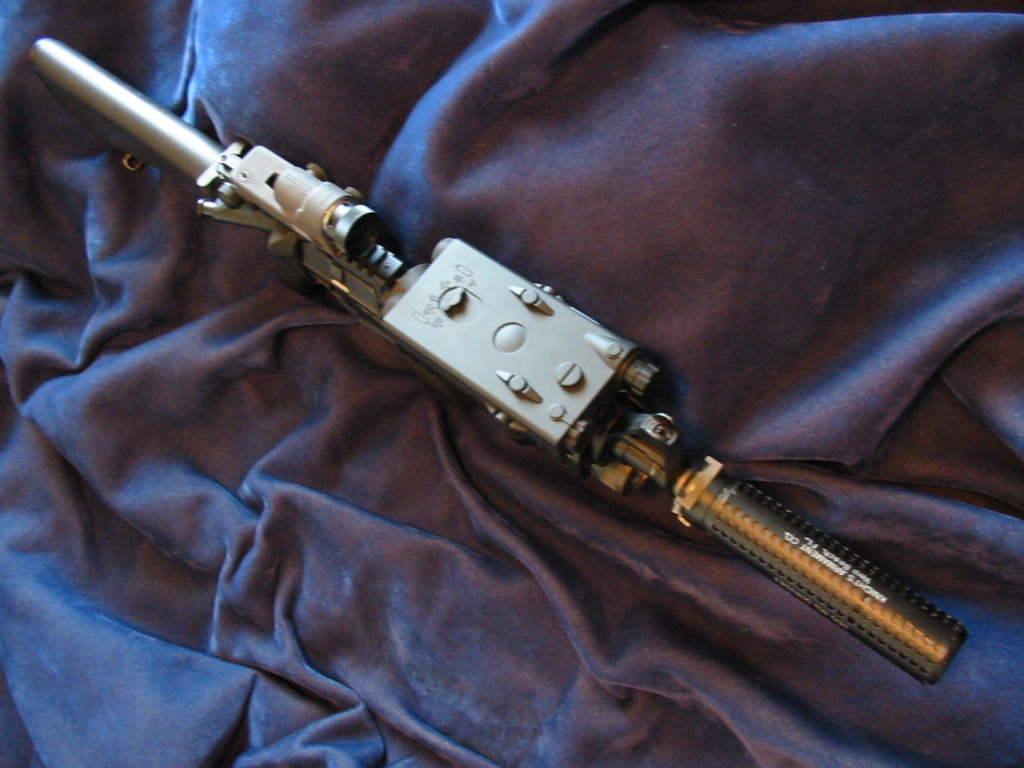
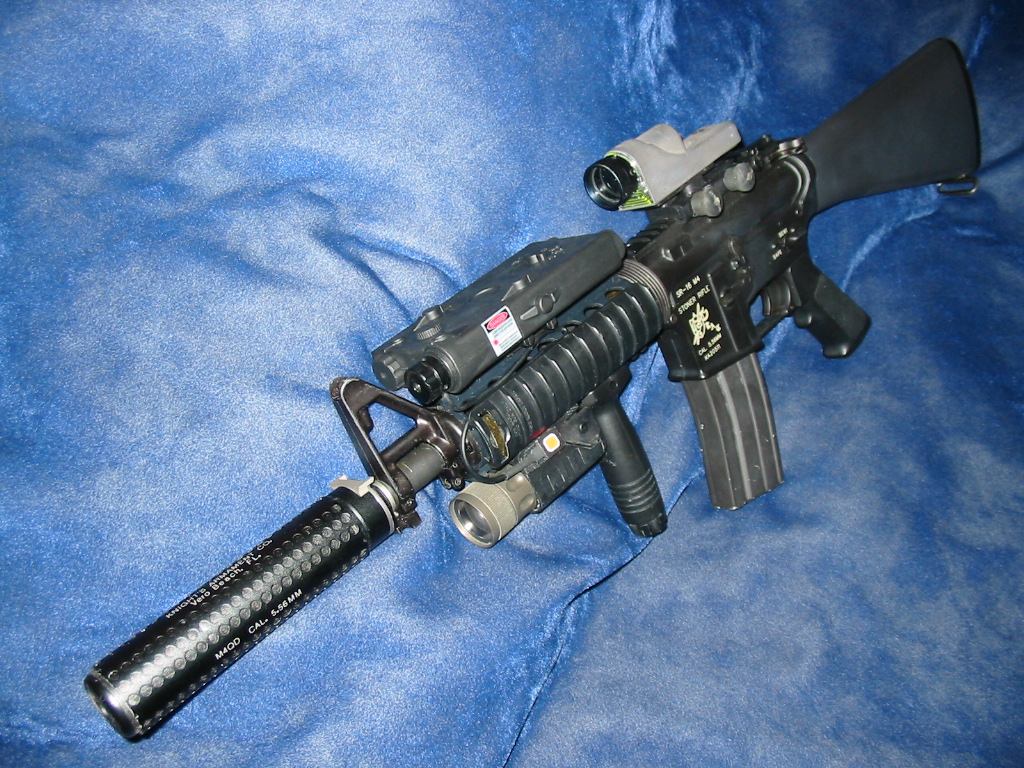
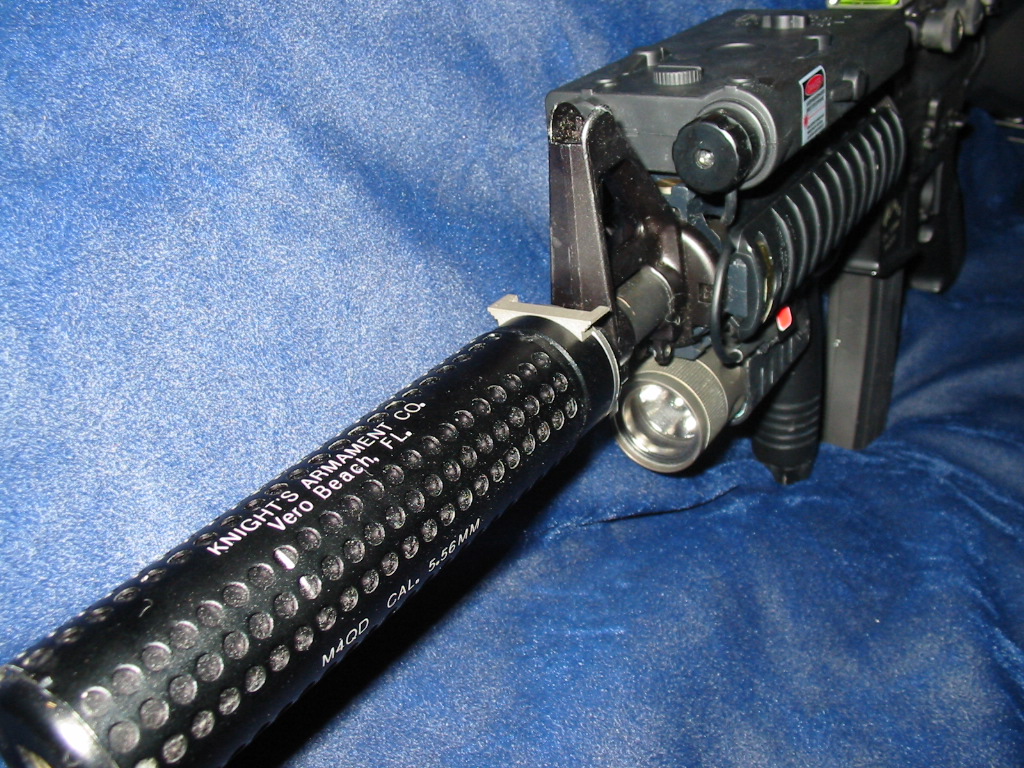
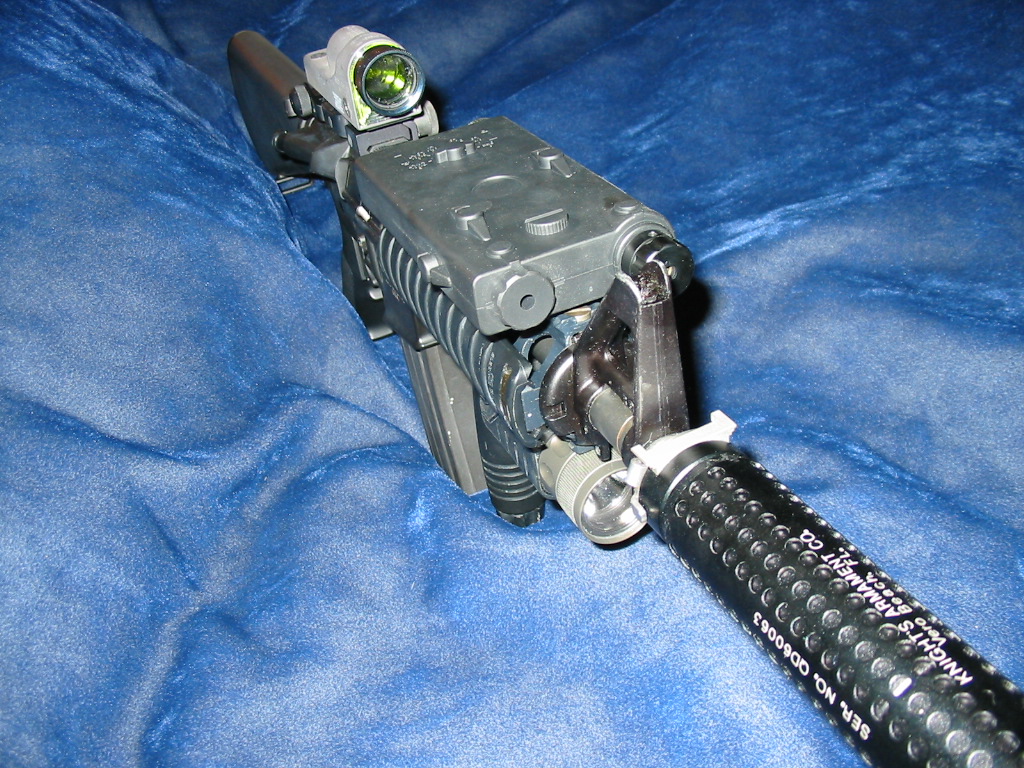
Overall, not a bad $100 spent (shipping included), considering that even the purchase of a mid-grade laser sight unit here, stateside, plus a proper mount, will run you in the $60 range quite easily. This is a much, much more cosmetically attractive alternative to such units, and also much more financially viable than trying to purchase any type of "real" LAM unit from either available civilian sources (which then you'd have the problem that the unit will not be authentic to that used by the real-deal operators), or through back-market government/arms sources. =) PS: Neither the BeamShot 1000 unit nor the AimShot LS 6200 will fit witout modifications to cut into the attachment end-point of the unit. This trouble, combined with the trouble of finding a suitable locking procedure for the sight once you have it situated -- as well as the expense of getting one of these mid-grade designator units -- all make a clear case for anyone desiring this particular upgrade to just cough up the extra dough and purchase the MC-74B as an accessory to the MA-15. PPS: For those interested, that's a TM KAC SR16 with a Guarder/IS 2-piece SMG/carbine outer barrel topped off by a GB-Tech KAC M4 Q/D mock suppressor; other accessories include a Trijicon Reflex II, SureFire T100, and of course, the ICS AN/PEQ-2 mock LAM with ICS MC-74B lasersight. Comment on this review in the forums Last modified:Wednesday, December 11, 2002 10:02 PM Copyright 2001 ArniesAirsoft
|