|
Tokyo
Marui AEG Mechbox Ver. 2 Disassembly Instructions Page 3
Prev
Page
| Next
Page
|
(27) |
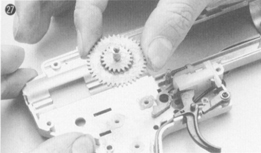
(27) The disassembly
is mainly finished after you take out the spur gear. It's always good to
remember the order of these items. Of course, in case you got confused,
image 14 should help out. Of course, you'll need to apply grease when putting
the gears back in. Recent technological advances produced some very efficient
grease, which not only reduces friction between the gears, but noise as
well. Check with your local hardware or hobby stores.
|
(28) |
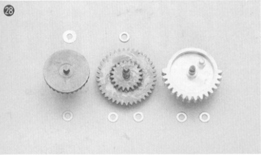
(28) These three
gears moves the most inside an AEG. Again, tons of custom gears exist, choose
the one that fits your needs the best. Some gears will reduce the ROF in
order to compress stiffer spring. Just don't forget to apply grease when
you reinstall them. Also, depending on the gear and bushing combo, you'll
need different number of shims. Usually the gear's installation manual will
mention shim placement. If not, you'll have to try different configurations
and find the optimal setting (a time consuming process).
|
(29) (30)
|
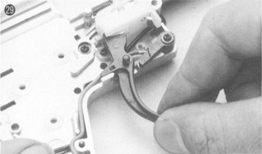
(29) (30) You
can also simply pull out the trigger unit from the mech box. There's a spring
attached on the reverse side, don't lose it.
|
(31) |
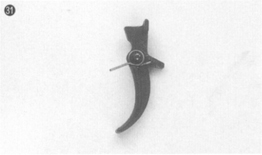
(31) Leftside
view of the trigger. If you can't remember how the spring goes in, take
a look at this picture so you can place it back in correctly.
|
(32) |
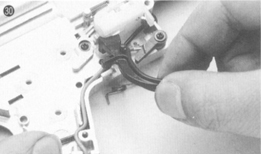
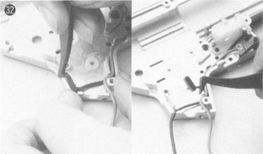
(32) To fully
take everything apart, you can also take out this cord stopper. The cord
leads to the switch box. Use a pincer to take out the stopper.
|
(33) (34)
|
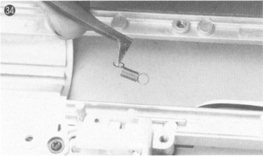
(33) (34) Before
taking out the switch assembly, first remove this spring here. Since it's
very small, pay close attention to it. A screw driver is usually good for
this.
|
(35) |
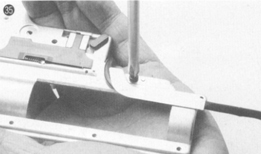
(35) Flip the
mech box over and remove the small screw shown in the picture.
|
(36) |
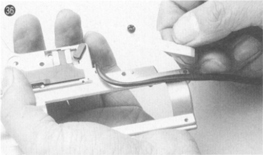
(36) This plate
is only held to the mech box by one screw, so just pull it out after you
remove the screw.
|
(37) |
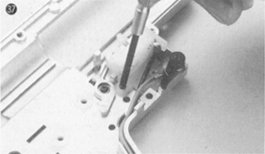
(37) The switch
assembly is also held by only one screw. In this case, us a precision screw
driver to remove it.
|
(38) |
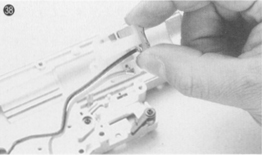
(38) Now you can
remove the switch assembly. AEGs need internal lubrication, but make sure
that no lubrication, regardless whether it's grease or silicon oil, gets
into this assembly. Also, you can't take this unit apart. However, electrical
grease can be applied here.
|